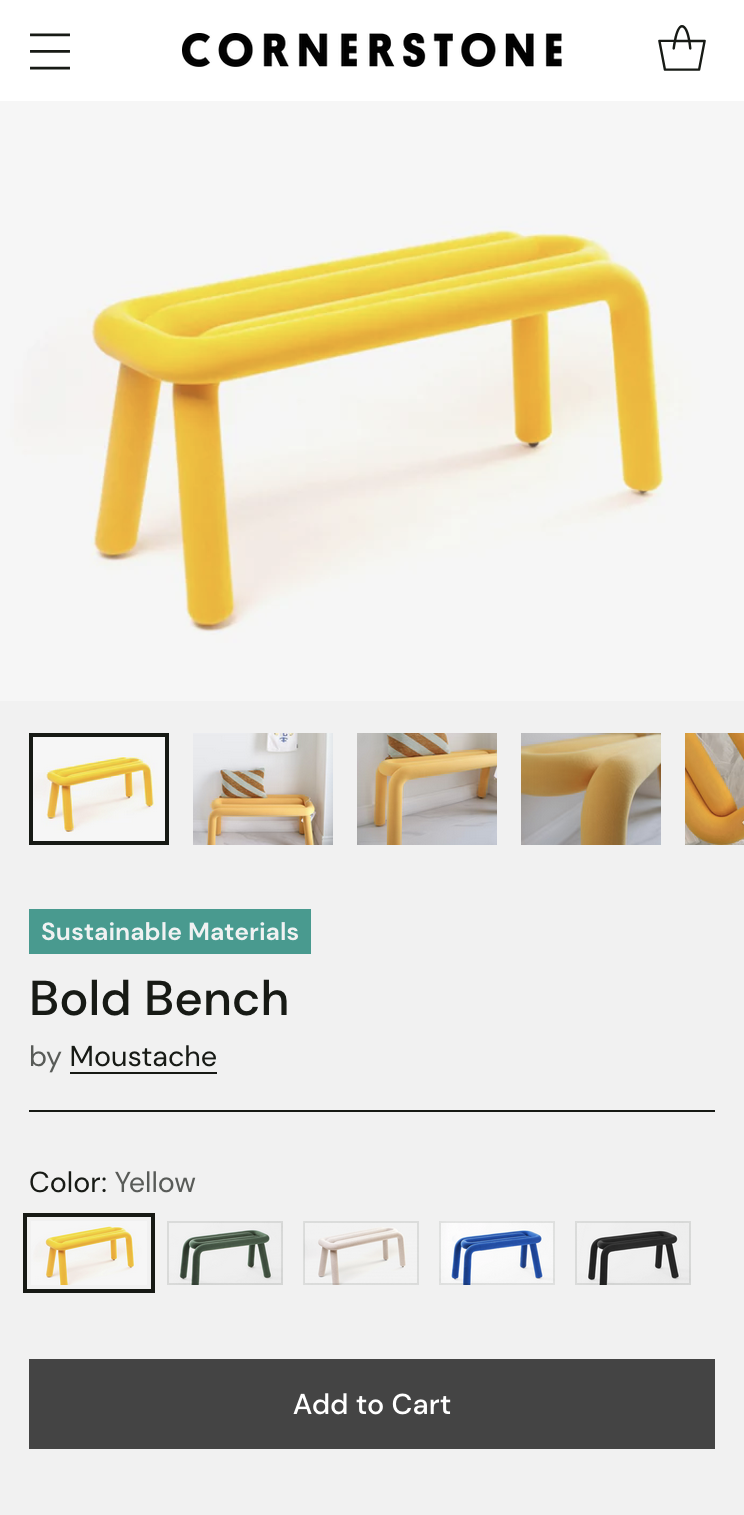
> For the complete documentation index, see [llms.txt](https://help.fluorescent.co/llms.txt). Markdown versions of documentation pages are available by appending `.md` to page URLs; this page is available as [Markdown](https://help.fluorescent.co/cornerstone/product-pages/variant-options/media-grouping.md).
# Media grouping
With **media grouping**, your product pages will show only the relevant media for the selected variant and hide the rest.
{% hint style="info" %}
To show different product details as well as images, you may want to use [Sibling product swatches](https://github.com/fluorescent/kb-cornerstone/tree/main/product-pages/sibling-product-swatches.md), which links variants to their own product pages.
{% endhint %}
{% hint style="warning" %}
Due to restrictions within Shopify, Media grouping is not compatible with products that have more than 250 variants. If you wish to use Media grouping with low variant products alongside products with a high variant count, be sure to [create separate templates](https://help.fluorescent.co/cornerstone/general/editing-themes/using-templates#create-and-assign-multiple-templates) to selectively use Media grouping.
{% endhint %}
### Set up media groups
***
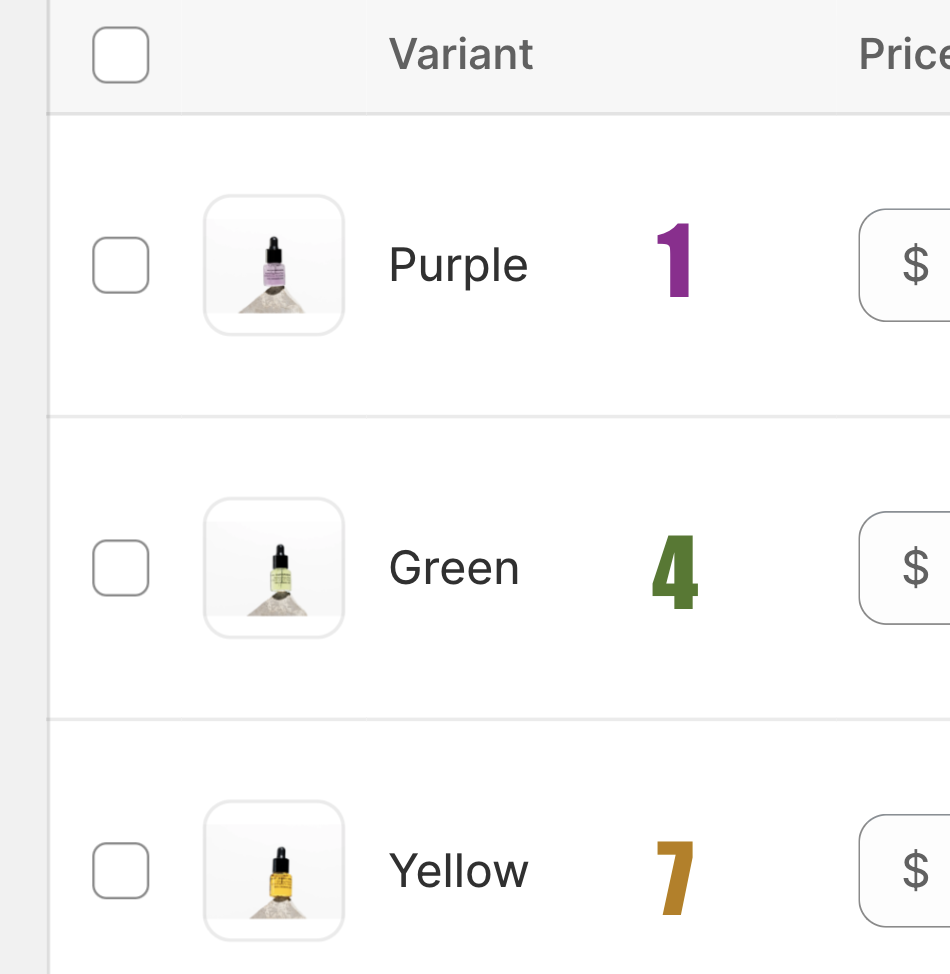
To create **media groups** for variants, first **re-order the product media for each of variant *****in sequence***, so that they are grouped together and follow the same order as your product options. Then **assign the first image of each group to the related variant**.
{% hint style="info" %}
When selected, variants will display the assigned image and all following images up until the *next* variant's assigned image.
{% endhint %}
In your **Shopify admin**, go to **Products** to open the product you want to edit:
{% stepper %}
{% step %}
#### Re-order product media in the same order as variants
Using the drag-and-drop handles **`⋮⋮`**, re-order your product media to **group together items for each variant.** The order of the groups should match the order of the variants.
> All media for the first variant should be in the top positions, followed by all media for the second variant, then all media for the third variant, etc.

{% endstep %}
{% step %}
#### Assign the first image of each group to variants
In the **Variants** section, click the **Add image** button next to each variant. Select the first image of the group related to that variant.
> If no image is assigned, the media gallery will not update and will continue to show images of the previously selected variant.
If your product has **multiple options**, assign the first image to each variant of that option.
> For example, if your product has both color and size options, assign the first group image to variants with the same color.
For multiple product options, assign the first group image to each related variant.
{% endstep %}
{% endstepper %}
### Enable media grouping
***
After you've set up media groups for your variant images, you can enable media grouping in the **Product overview** settings of your product template.
In your theme editor (**Customize**):
1. Open the product template.
2. Click the **Product overview** section.
3. Toggle on **Enable multiple variant media** option.
4. Click **Save**.