| Section colors | #section-colors |
| Section spacing | #section-padding |
| Section animations | #section-animations |
| Setting | Description |
|---|---|
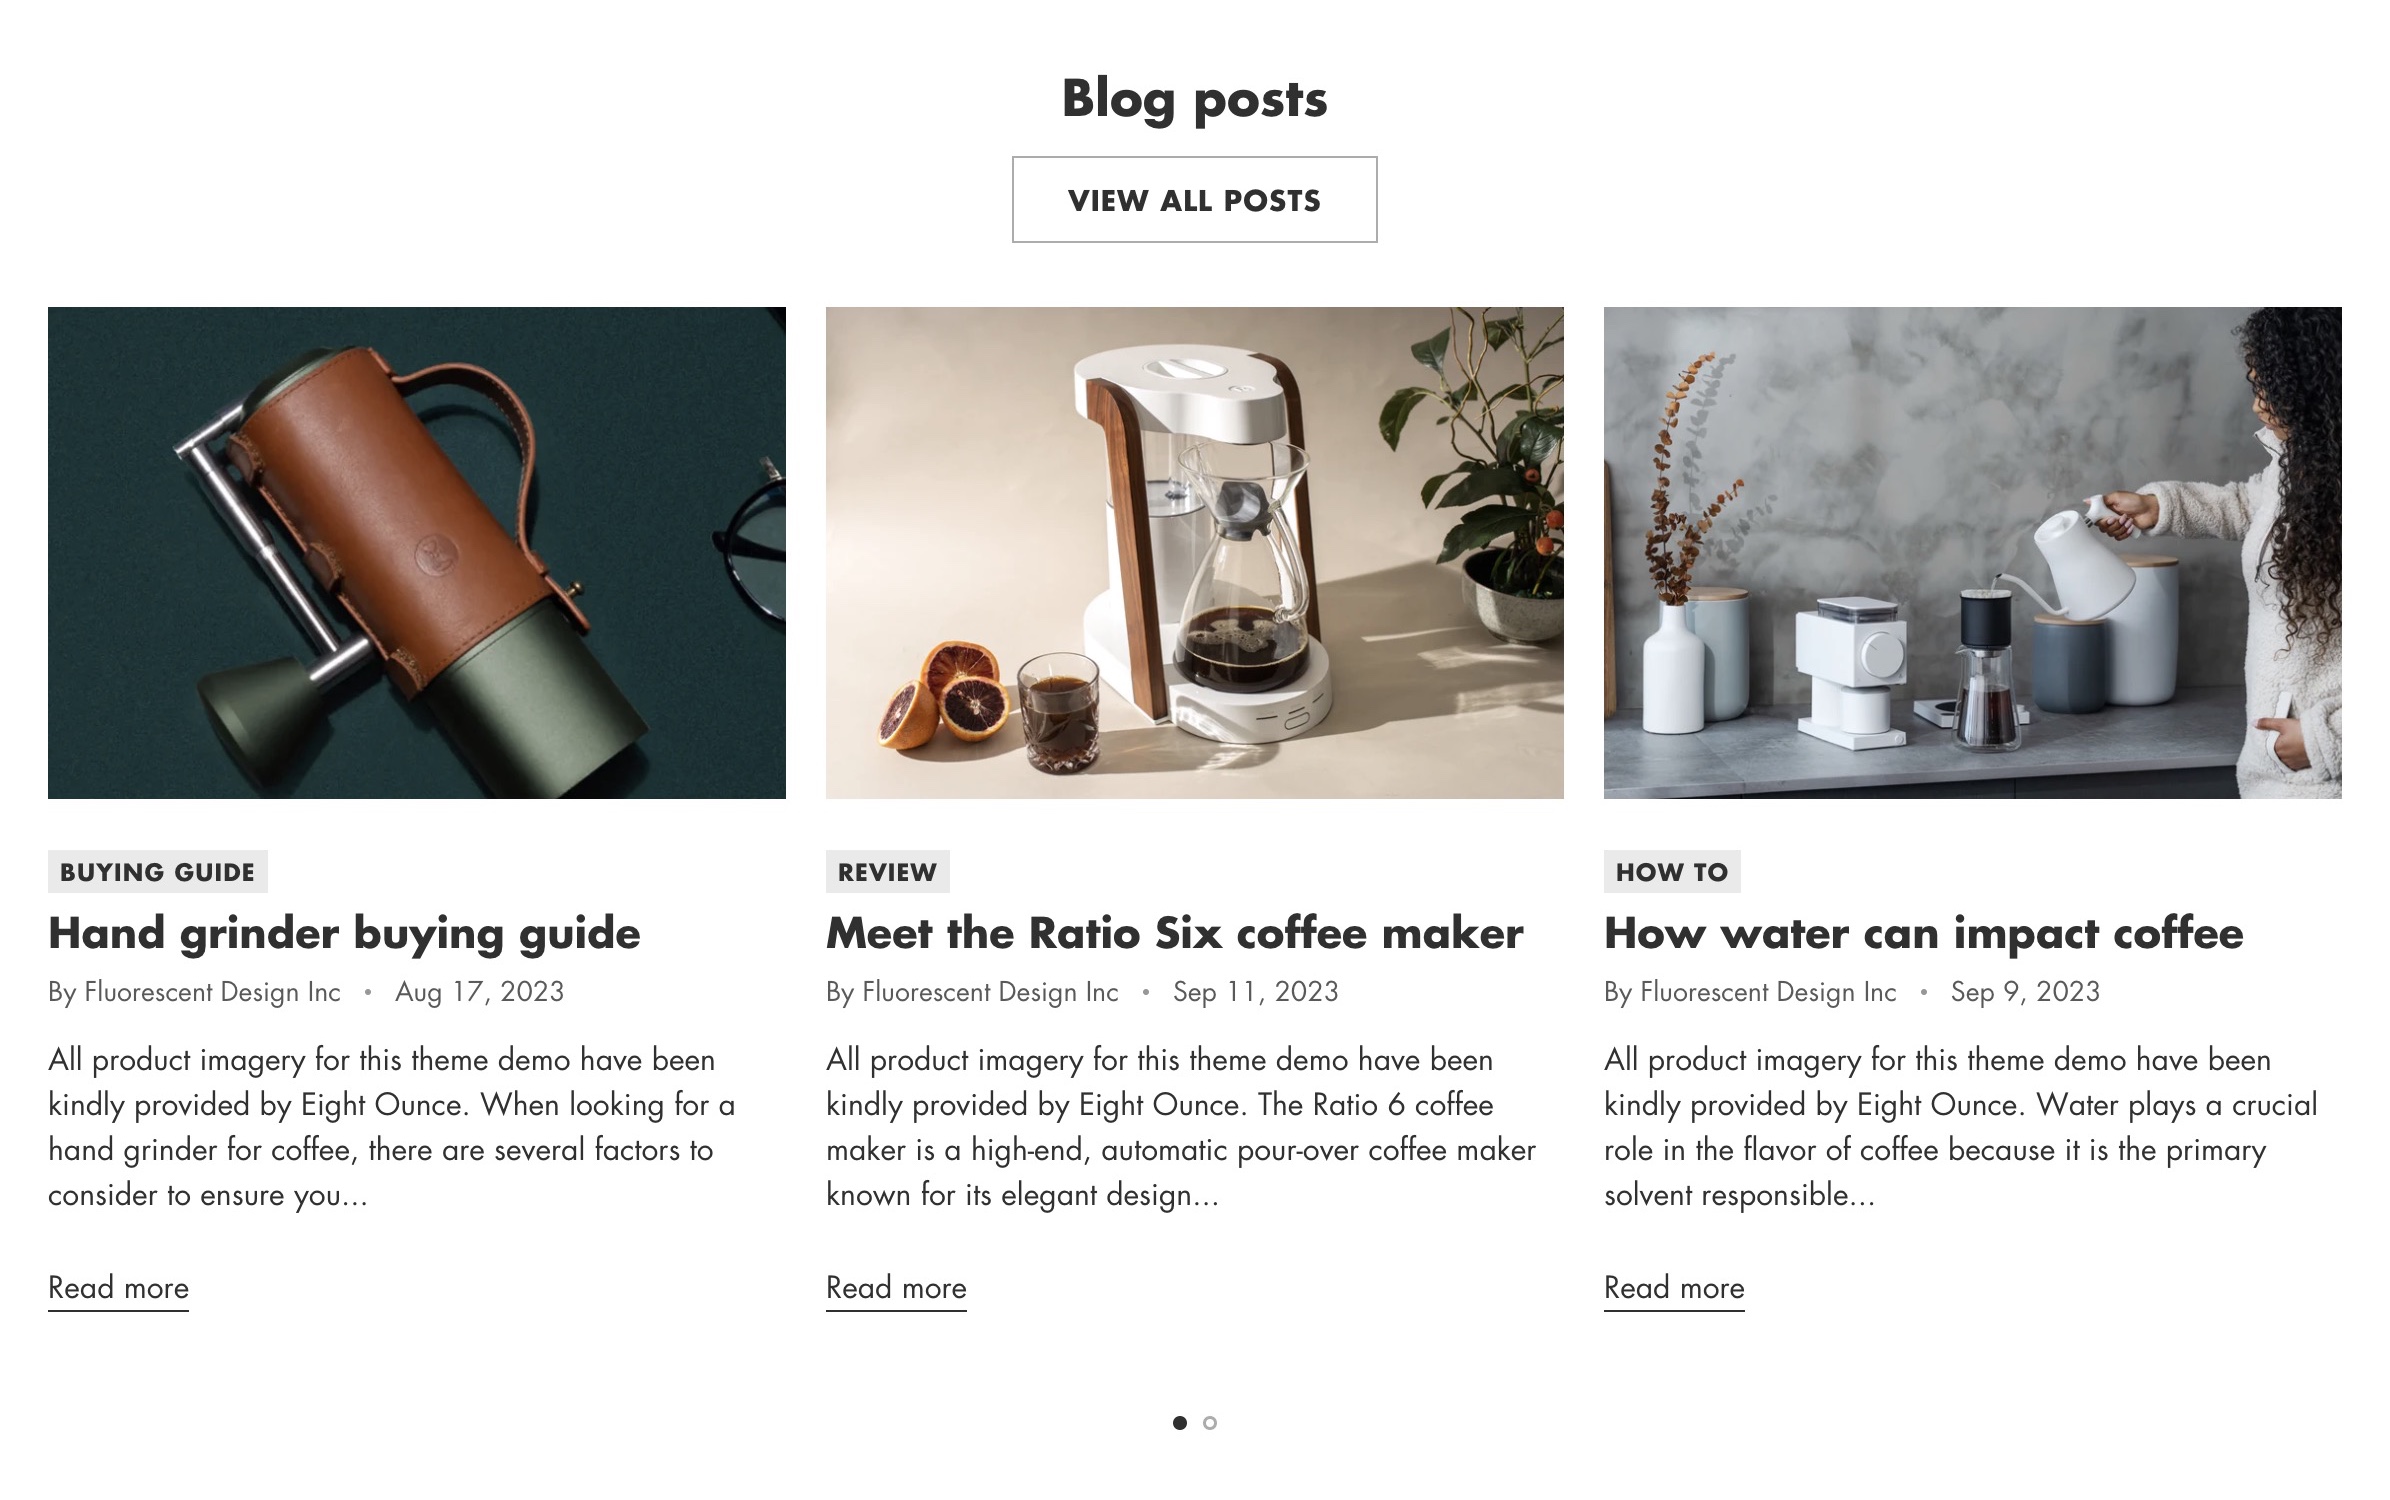
| Blog posts source | Choose to display latest posts from a Selected blog or a Custom list of blog posts that you can add and re-order as blocks. |
| Add article | For Custom list, click (+) Article beneath the Blog posts section. |
| Select blog | For Selected blog source, click Change to select a blog to display its latest posts. |
| Number of articles | For Selected blog, choose how many posts to display: between 2 and 12. |
| Number of columns on desktop | Select how many posts to show per row on desktop screens: either 2, 3, or 4 columns. On mobile, the section displays one column. |
| Setting | Description |
|---|---|
| Show article categories | Display tags that you've added to posts in the Shopify admin. |
| Show author | Display the name of who created the blog post. |
| Show published date | Display the date when the post was published. |
| Show excerpt | When checked, the first few lines of the post will appear below. You can add a custom excerpt to blog posts in your Shopify admin. |
| Show featured image | Show the blog post image added in your Shopify admin. |
| Setting | Description | Options |
|---|---|---|
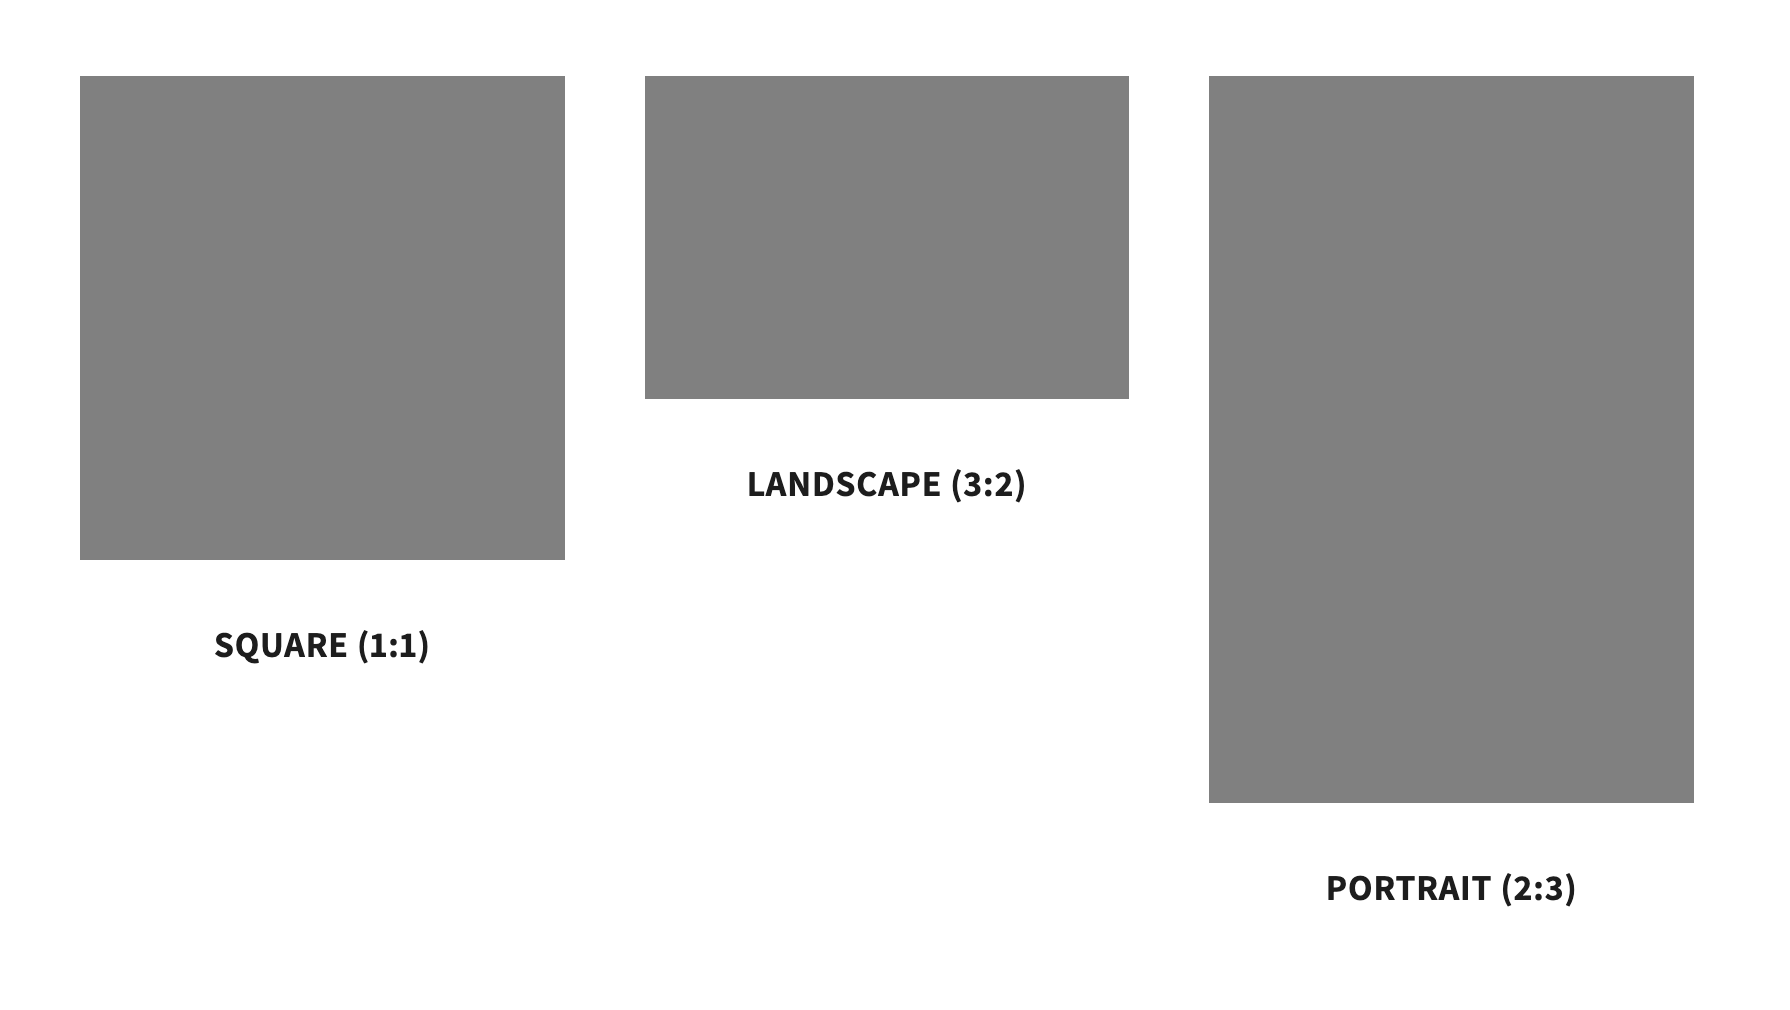
| Image aspect ratio | Select an aspect ratio to crop images to be a uniform shape, or select Natural to display their original shape. | Natural Portrait (2:3) Square (1:1) Landscape (3:2) |
| Setting | Description |
|---|---|
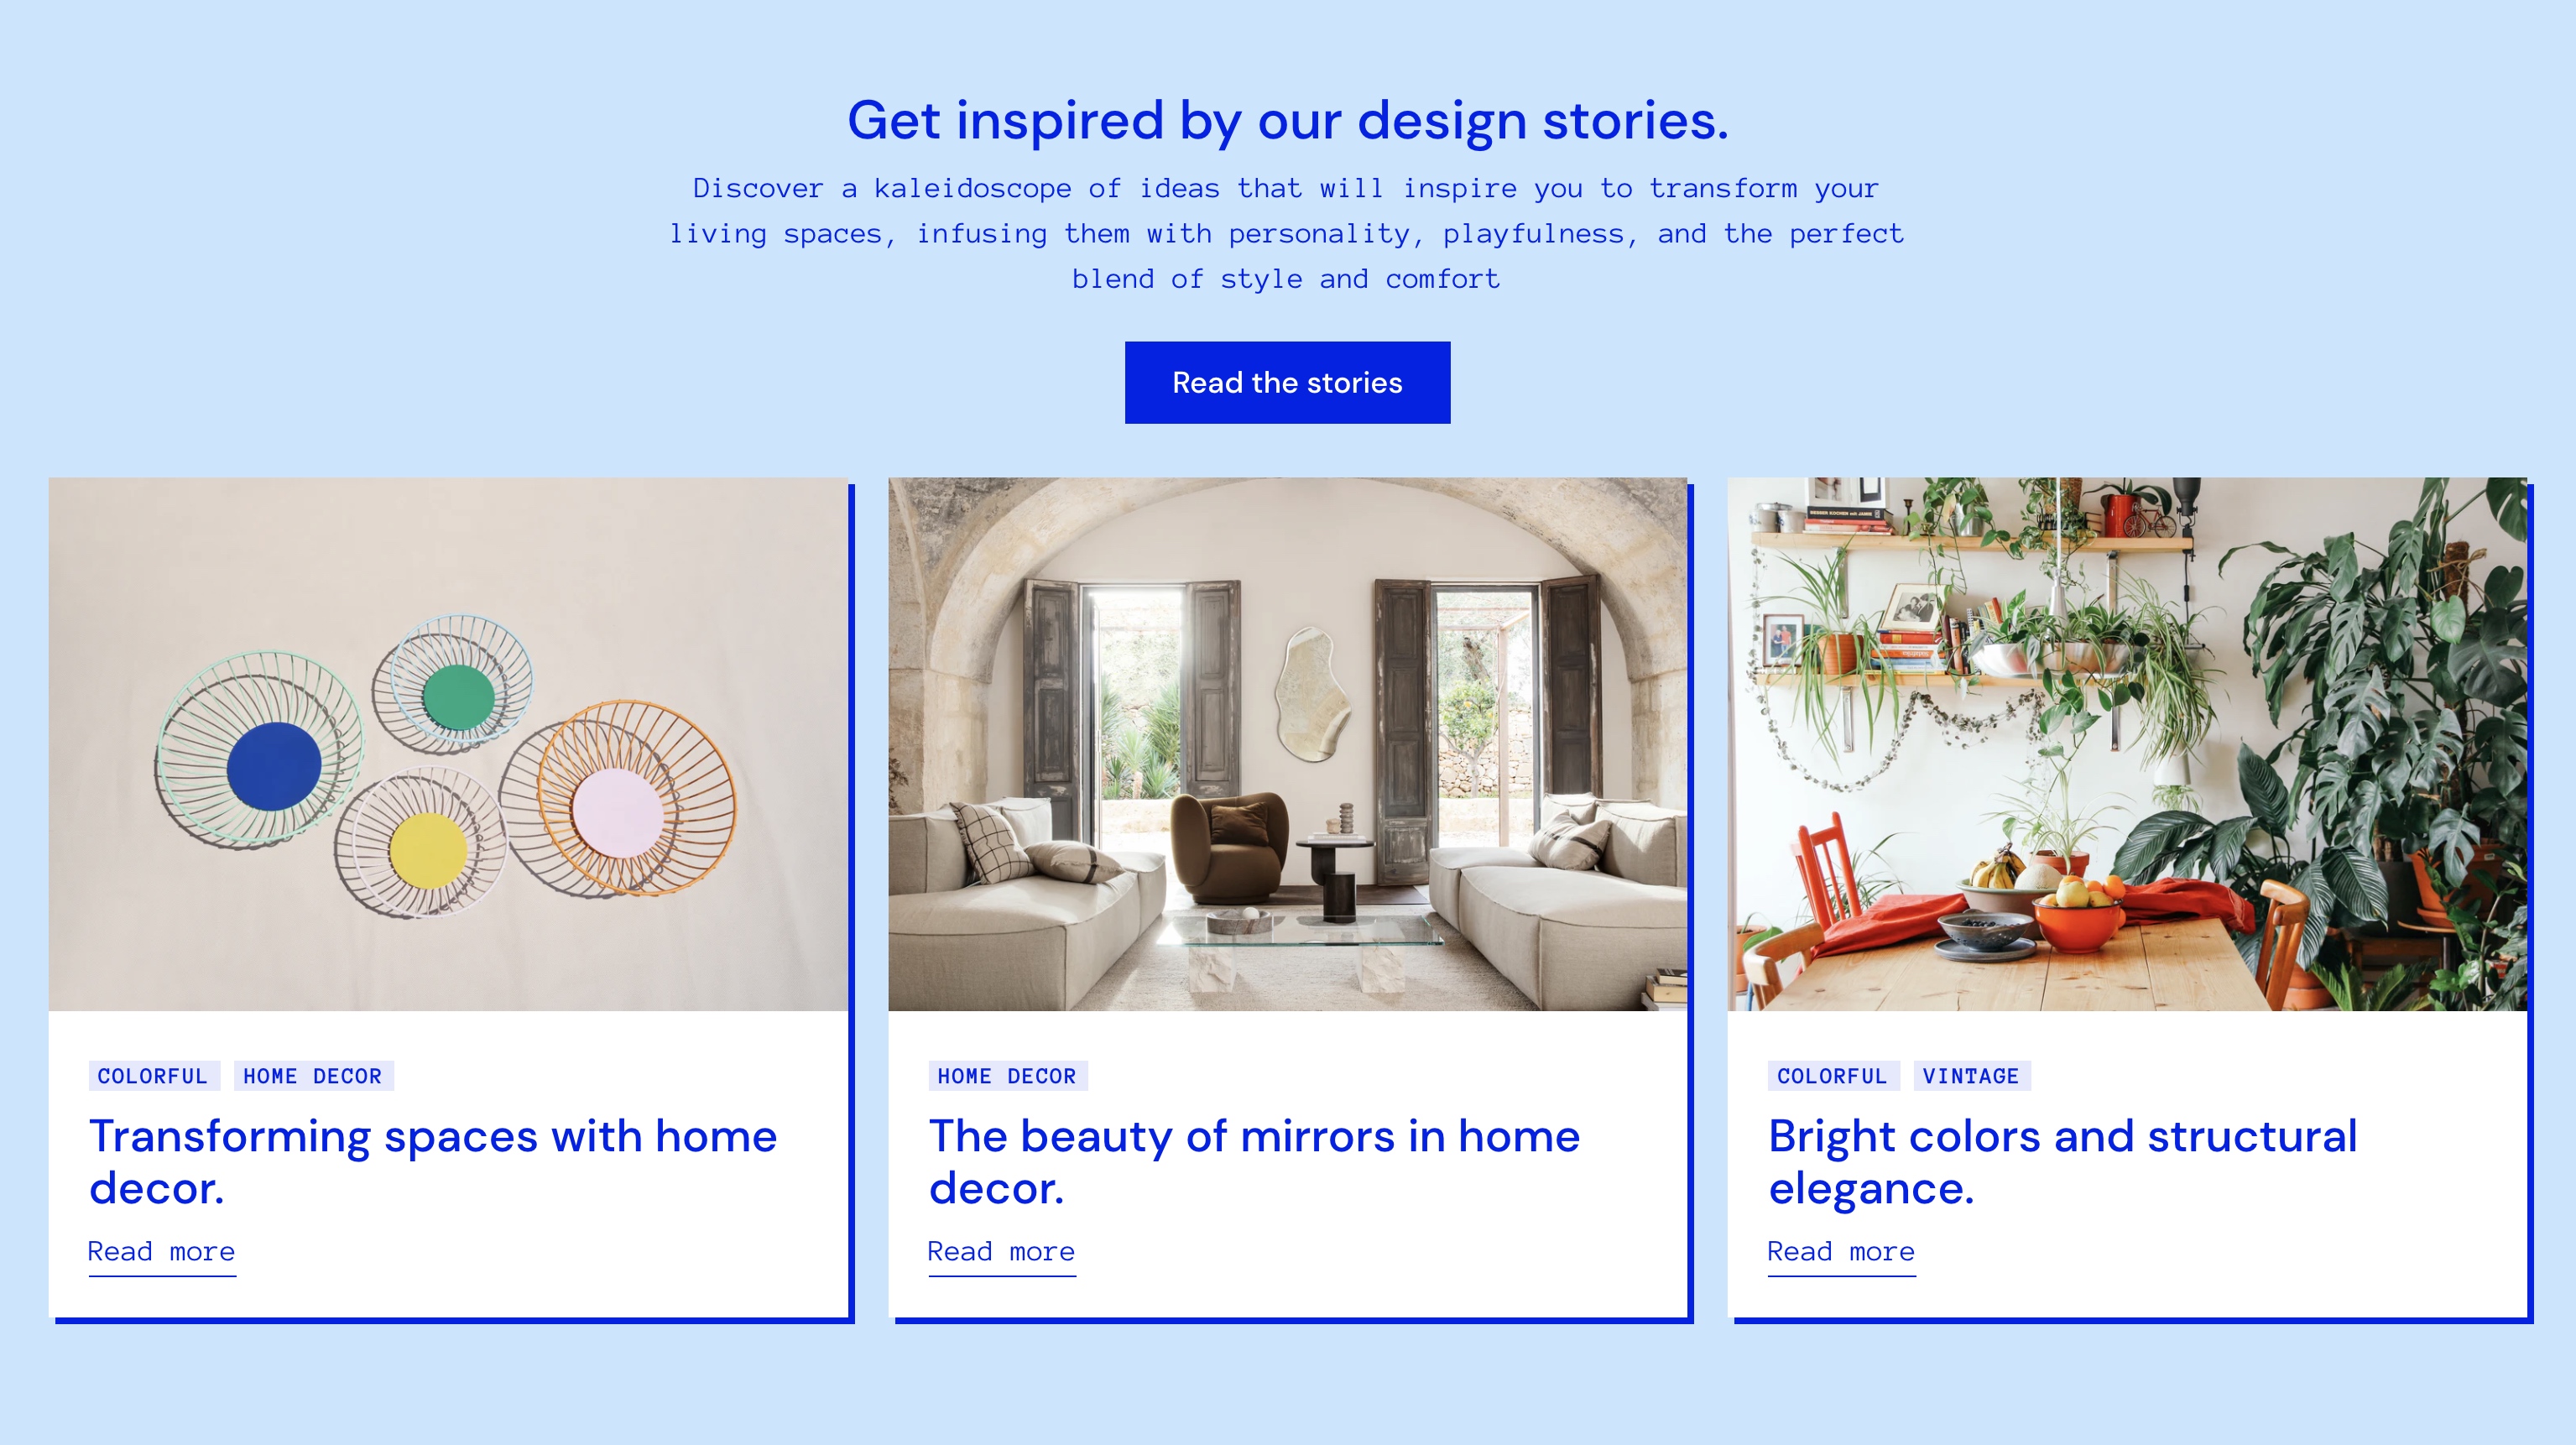
| Show text box | Display all posts within a container. |
| Text box style | Display boxes with a Soft drop shadow, Solid drop shadow, or Borders with different thicknesses. |
| Color scheme | Change the color scheme applied to the text box. Use the Default color scheme from your theme settings or select a variant scheme based on the default: either Inverse, Soft, Accent, or Sale. You can also select a custom color scheme. Learn more. |
| Override with custom colors | Use custom colors for this section to override the color scheme. |
| Text color | Select a custom color for text within the text box. |
| Background color | Select a custom color for the background of text box. |
| Setting | Description |
|---|---|
| Center header content | Choose to display headings as center-aligned within section. Uncheck this option to align headings to the left. |
| Accent | Add text to show a small heading above the main section heading. |
| Heading | Add text to show a main heading above the section. |
| Subheading | Add text to show a subheading below the main heading. |
| Maximum text width | Set the maximum width of heading text between 400 and 1000 px. |
| Button link | Select or paste a URL for a button. This link applies to the entire grid item if the button label field is blank. |
| Button label | Enter text to display as the button label. The most effective button labels ask customers to do something (e.g. Join us, Shop now). |
| Button style | Change the style of the button. Select Primary button (Solid), Secondary button (Solid), Tertiary button (Outline), or Text. |
| Buttons position | Choose to show the buttons either in the Header (below the headings) or in the Footer (below the posts). In the footer position, the button is always centered. |