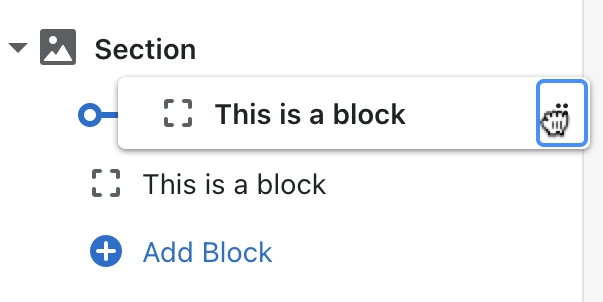
Logo block
Display a logo image in the Footer, as well as your social media icons.
Settings reference
Click the Logo block in the Footer to find the following settings.
Setting
Description
Logo
Upload a custom logo image. No required dimensions - we recommend a minimum width of 50px.
Logo max width
Set the maximum width of the image: between between 50px and 350px.
Show social icons
Display icons for your social media links added in your theme settings.
Enable Follow on Shop
Follow on Shop is a Shopify feature. You need to have the Shop channel installed, and Shop Pay activated on your store.
Related links
Footer Contact and social block Links block Liquid block Newsletter and social block Text and image block
Last updated
Was this helpful?
