# Text and image block

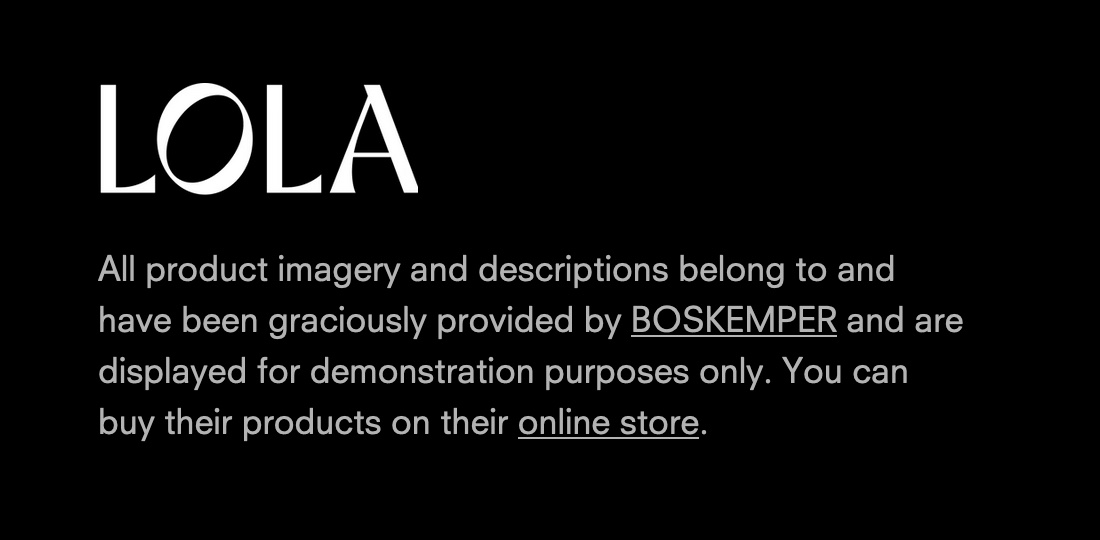
The **Text and image** block is great for a brief store description and logo image, or anything you like.

<img src="/files/Rs3ZB6KVnf1pSVzQ52mu" alt="" width="563">

## Add image and text block

***

Click the arrow next to the **Footer** section, then click **(+) Add block** and select **Image and text**. Use the drag-and-drop handles **`⋮⋮`** to re-order blocks. Click the block to start adding content.

<details>

<summary><mark style="color:blue;">STEPS</mark></summary>

In your theme editor (**Customize**):

1. Click the arrow beside the **Footer** section to reveal the Footer blocks.
2. Click on the **Text and image block** ("Use this text area...") to open the settings.

   > Click **(+) Add block** to add a new **Text and image block**.
3. (*Optional*.) Add a brief title to the **Heading** field.

   > Check **Show heading on desktop** to display the heading at the top of the block on desktop screens.
4. Add a short paragraph to the **Text** field.

   > Use the formatting buttons to add bold, italic, and linked text.
5. Upload an **Image** to display above the text.

   > There are no required image dimensions. Use the **Max width for image** slider to adjust the size of your image.

   > For logos, we recommend a **`.png`** file with a transparent background.
6. Change the **Image placement** to **Above text** or **Below text**.
7. (*Optional*.) Choose whether to **Show social icons** at the bottom of the block.

   Add your account links in the Theme settings under **Social media** to display their icons. > Enter the full URL, including **`https://`**.

   ![](/files/1LZaeaVmAuPSTpEW2yOp)
8. Use the **Desktop width** and **Desktop padding** sliders to adjust the size of the block.

   > For best results, make sure all footer block widths add up to 100%. You can also add a **Spacer** block with an adjustable width to add spacing between blocks.
9. (*Optional*.) Choose whether to **Enable Follow on Shop**.

   > Follow on Shop is a Shopify feature. You need to have the Shop channel installed, and Shop Pay activated on your store. See [Shopify's Follow on Shop guide](https://help.shopify.com/en/manual/online-store/themes/customizing-themes/follow-on-shop).
10. (*Optional*.) Click and hold the drag handles **`⋮⋮`** to rearrange the blocks:

    ![](/files/tOHF9cG7TWZSPV5YgAH3)

    > Click **Remove block** or the eye icon to delete or hide a block.
11. Click **Save**.

</details>

## Set up image

***

Upload an image and adjust its **width** and **position**.

`Click Image, text, and socials block to find settings`

<table><thead><tr><th width="162">Setting</th><th width="400">Description</th><th>Options</th></tr></thead><tbody><tr><td><mark style="color:blue;">Image</mark></td><td><p>Select or upload an image. There are no required dimensions. We recommend an image with a minimum width of 50px.</p><p>Use PNG files for images with a transparent background.</p></td><td></td></tr><tr><td><mark style="color:blue;">Max width for image</mark></td><td>Set the maximum width (in pixels) of the image on desktop.</td><td><strong>50 - 350px</strong></td></tr><tr><td><mark style="color:blue;">Image placement</mark></td><td>Show the image above or below the text.</td><td><strong>Above text</strong> <em><mark style="background-color:yellow;">Default</mark></em><br><strong>Below text</strong></td></tr></tbody></table>

## Change text headings

***

Change the **heading** and subheading **text**. Leave fields blank to hide them.

> Toggle on **Show heading on desktop** to display the heading at the top of the block on desktop screens.

## Change block layout

***

Use the **Desktop width** and **Desktop padding** sliders to adjust the size of the block.

> For best results, make sure all footer block widths add up to 100%. You can also add a **Spacer** block with an adjustable width to add spacing between blocks.

`Click Text and image block to find settings`

<table><thead><tr><th width="178">Setting</th><th width="400">Description</th><th>Options</th></tr></thead><tbody><tr><td><mark style="color:blue;">Desktop width</mark></td><td><p>Use the slider to increase the width of the footer block on desktop.</p><p>To keep all columns in a single row, make sure all footer block widths add up to 100%. To display block on its own row, set the desktop width to 100%.</p></td><td><strong>10 - 100%</strong></td></tr><tr><td><mark style="color:blue;">Desktop padding</mark></td><td>Adjust the spacing around the content within the full width of the block.</td><td><strong>0 - 20%</strong></td></tr></tbody></table>

## Display collapsible row on mobile

***

On mobile screens, you can display the links block in a collapsible row, instead of as a column.

> **Note**: A **heading** is required for the collapsible row.

`Click Links block to find settings`

<table><thead><tr><th width="190">Setting</th><th width="400">Description</th><th>Options</th></tr></thead><tbody><tr><td><mark style="color:blue;">Collapse on mobile</mark></td><td>Display the block as an expandable row that reveals the block content when clicked.</td><td><mark style="background-color:yellow;">Default: Disabled</mark></td></tr></tbody></table>

## Show social icons

***

{% columns %}
{% column %}
In the block settings, choose to **Show social icons** that link to your profile pages. Open the **Theme settings** tab in the settings panel to enter the full URL of your profile pages.
{% endcolumn %}

{% column %} <img src="/files/1LZaeaVmAuPSTpEW2yOp" alt="" width="563">

{% endcolumn %}
{% endcolumns %}

## Enable Follow on Shop

***

Follow on Shop allows customers to follow your store on the Shop app and receive personalized recommendations and notifications about your products.

{% hint style="warning" %}
To use this feature, you need to have the Shop channel installed, and Shop Pay activated on your store. See [Shopify's Follow on Shop guide](https://help.shopify.com/en/manual/online-store/themes/customizing-themes/follow-on-shop) for assistance.
{% endhint %}

`Click Text and image block to find settings`

<table><thead><tr><th width="198">Setting</th><th width="400">Description</th><th>Options</th></tr></thead><tbody><tr><td><mark style="color:blue;">Enable Follow on Shop</mark></td><td>Allow visitors to follow you on Shop to receive recommendations and notifications about your products.<br><br>You'll need to have the Shop channel installed and Shop Pay activated on your store. See <a href="https://help.shopify.com/en/manual/online-store/themes/customizing-themes/follow-on-shop">Shopify's Follow on Shop guide</a></td><td><em><mark style="background-color:yellow;">Default</mark></em><mark style="background-color:yellow;">: Enabled</mark></td></tr></tbody></table>

***

> **Related links**
>
> [Footer](/stiletto/pages/footer.md)\
> [Links block](/stiletto/pages/footer/links-block.md)\
> [Newsletter block](/stiletto/pages/footer/newsletter-block.md)


---

# Agent Instructions: Querying This Documentation

If you need additional information that is not directly available in this page, you can query the documentation dynamically by asking a question.

Perform an HTTP GET request on the current page URL with the `ask` query parameter:

```
GET https://help.fluorescent.co/stiletto/pages/footer/text-and-image-block.md?ask=<question>
```

The question should be specific, self-contained, and written in natural language.
The response will contain a direct answer to the question and relevant excerpts and sources from the documentation.

Use this mechanism when the answer is not explicitly present in the current page, you need clarification or additional context, or you want to retrieve related documentation sections.